Wednesday, May 23, 2012

Multiply Size Sewing Patterns- How to use

Multiply size patterns for a beginner can be a bit intimidating, but at times they can really be great. In our family we have little girls from birth - age 10, so  being able to buy just one pattern to make around 4 sizes of an item can be a real money saver. But how do you use them? I have tried a bunch of things over the years and this is what I have found works best for me.

All you will need is the pattern, scissors, marker and tissue paper! ( just plan old gift tissue paper most dollar stores carry it) I used blue when I took these photos because that's what I had in the house, but white is easier to see.

Lay pattern under tissue paper then trace all marking & lines for the size you need. I like to start with size small and work my way up getting all the sizes done, that way the next time I need to use the pattern I will not have worry about doing this so I can get right to sewing :)


Once you have the whole pattern traced all that's left to do is cut. Super easy right!! I like to store all of the pattern pieces together in a gallon size zip lock bag.

Thursday, May 10, 2012

Baking Monkey Bread with kids

I can still remember helping my mother make monkey bread when I was young, and then how my friends and I would wait for it to come out of the oven. The whole house would smell like cinnamon and sugar. It's one of those recipe's that is super easy to make, taste's SO good and super fun to make with kids! 


 Ingredients

4 packages of biscuit dough 
1 cup sugar
1 1/2 tablespoon cinnamon
3/4 cups butter
10 inch Bundt pan
Large plastic ziplock bag


Directions

Grease a 10 inch bundt pan, add sugar and cinnamon to the large plastic bag and cut all 4 cans of biscuit's in to quarters.

Once all biscuit's have been quartered add them to the bag and shack to coat..This is the fun part for kids :)

As you take coated quarters from bag start to layer them in the bundt pan. Once all quarters are in pan it will look like there is not enough *don't worry about this because biscuits will raise in the oven.

Melt butter on  medium heat and add remaining sugar and cinnamon to pot, stirring for 1 min then  pour over biscuits. cook at 375 for 30 mins. then let cool, once cool turn pan over on plate and enjoy!!!


Thursday, May 3, 2012

Pilllowcase Dress Pattern/ Tutorial

It's done!! Woohoo :) Pillowcase dress pattern/ tutorial. I hope all will enjoy this guide. This was put together  again just like my towel pants pattern with the beginner sewer in mind. When I first started to sew I found that I had to read from a number of patterns just understand what had to be done, with all the technical terms and lack of photos lets just say I am happy I never gave up. This is my main reason for wanting to make patterns, So that EVERYONE can sew. As a mother of two daughters the feeling I get when I see them light up with excitement over their new dress makes it all worth while.

With this pattern you will be able to make dresses from birth to size 8.


Wednesday, April 25, 2012

4th Of July

The summer is almost here and with that means friends,family and of course bbq's!! Love pillowcase dresses this time of the year, keeps the kids cool & look great. Had to share these super cute 4th of July dresses. They were a custom order for Matching sister dresses. This is one of the number one things I love about fabric, being able to match your kids even if they are a few years apart. My daughter's are 5 years apart,  Once my older one no longer fit in 5T  that was it no more matching, and lets face it they look so cute when they match :)

**News
Pillowcase dress pattern coming soon!!! also working on some new free tutorial's that I will be posting here soon. 


Wednesday, April 18, 2012

Dress Form Pincushion


Loving these super cute dress form pincushion's!!! also work great as a jewelry holder or just as decor for a little girls room or sewing room. I love making these!

Sunday, April 15, 2012

Mackenzie Madison's Pillowcase dress Giveaway

Mackenzie Madison's is now on Facebook and to get the page up and running I thought we would have a little fun with it, On May 1st I will have a drawing for all the fans on our page to win a super cute pillow case dress! Keep it for your little one or give it as a gift :) all you have to do to is " LIKE" our page. Super easy just hit the like button and you are entered in the giveway. Good luck everyone and remember to check our facebook page on May 1st to find out if you are the winner. the link for our facebook page is on the right side of this blog or Just click on this like button

Saturday, March 31, 2012

Sewing a professional looking seam without a Serger Machine

The Serger stitch is of course the best stitch to use when making clothes and just about anything, but what if you don't have one. The cost of  serger machines is expensive and are not normally the kind of machine a beginner sewer buys. So how can you keep that clean professional seam look with out a serger, easy using a French Seam!

Now for the beginner sewers out there don't get worried it sounds a lot harder then it really is.
OK so lets get to it :)


Step 1
Lay your fabric out ugly sides touching, you want the two pretty sides facing out. Here I am sewing a border on a pillow case dress.

Step 2 and 3
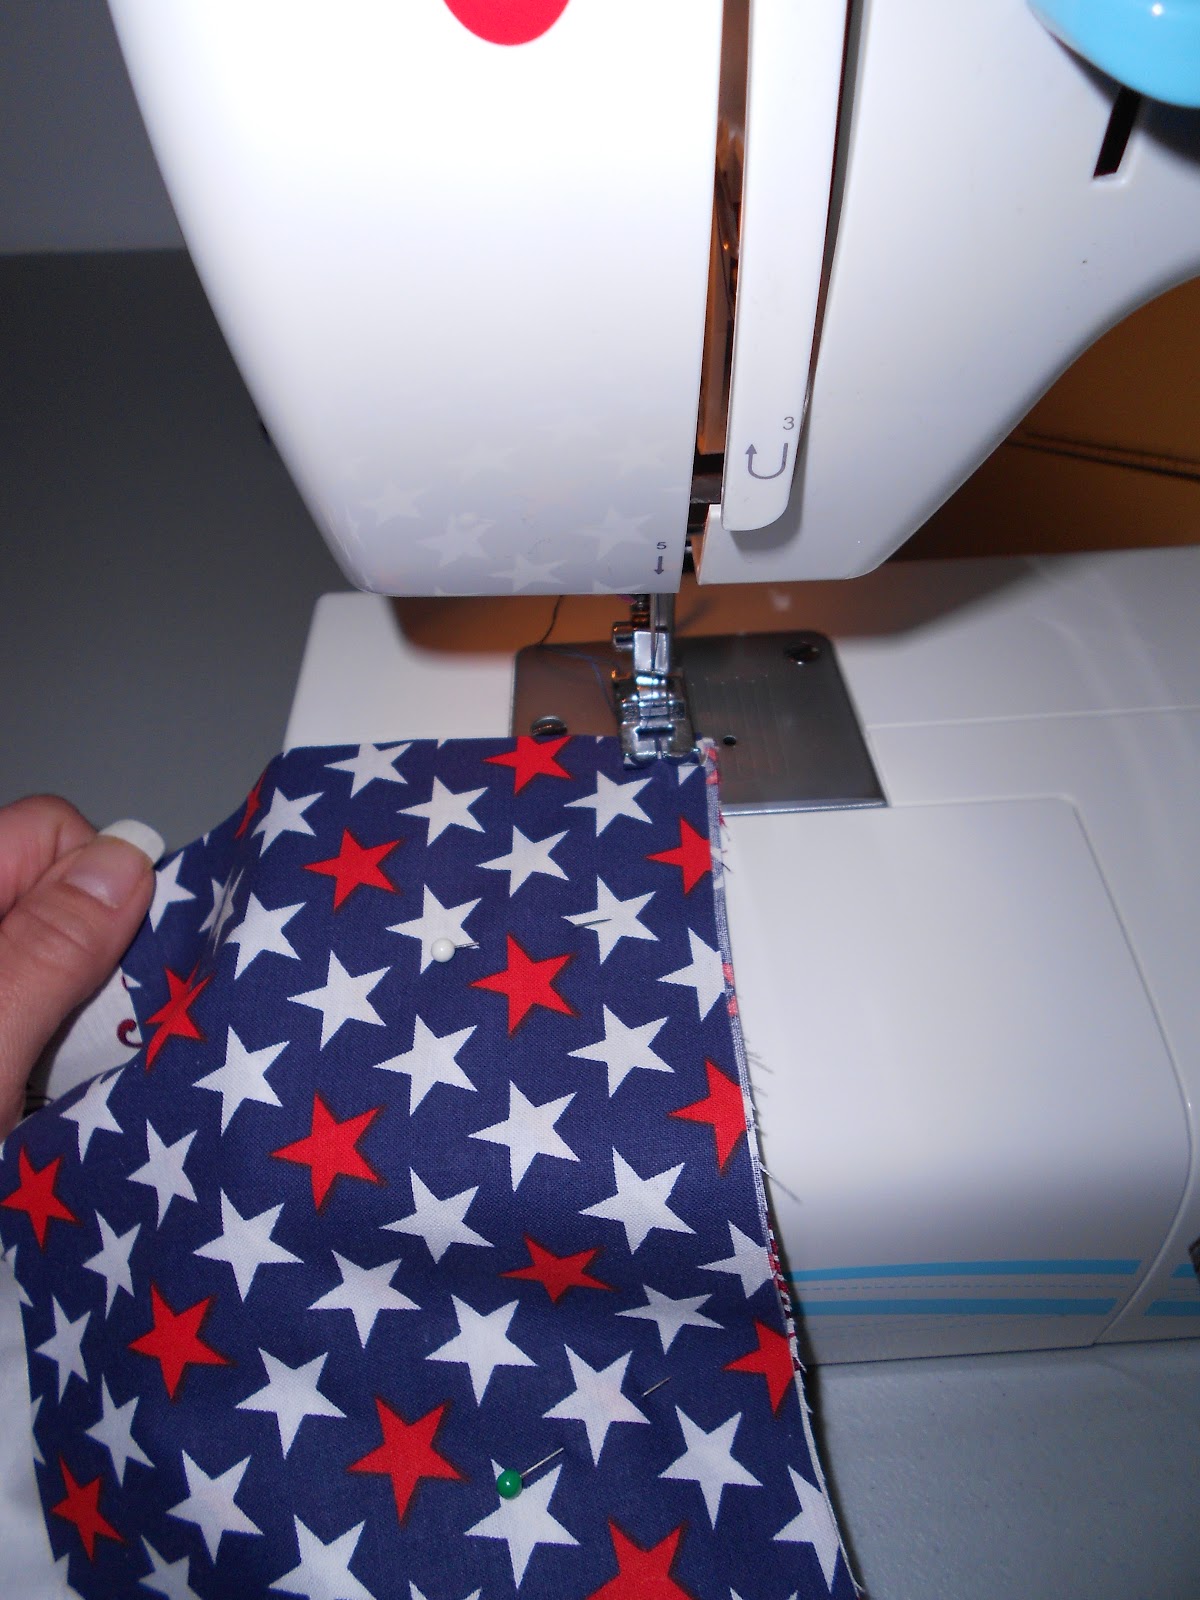
Pin fabric together, making sure they are even. Once you have the fabric pinned you will sew a 1/4" seam. After you have sewed the 1/4" seam you can go on to the next step or if you would like you can cut along the seam 1/8" away from the thread. This seam will soon be in case so you will not see the raw edge so cutting is not something you have to do but it does help with the end seam not being to bulky.

Here you can see the seam you just made showing on the pretty side of the fabric.

Step 4 & 5
Now you will turn the fabric over so that the ugly sides are facing out and the pretty sides are touching. This is how you will in case the ugly seam. Shown in this photo is what the end seam will look like, no raw edge!


Next you will need to iron this seam down and pin in place. Ironing will help the seam stay in place when sewing. After you have ironed and pinned the fabric you will now sew a 1/2" seam.

Step 6
Your Done!! WooHoo you now have a super clean, professional seam without using a serger stitch!